
How to Shoot with the Olympus OM-1: A Comprehensive Guide
Are you ready to dive into the world of photography with the iconic Olympus OM-1? This camera, known for its compact size and exceptional image quality, has been a favorite among enthusiasts and professionals alike. Whether you’re a beginner or an experienced photographer, this guide will help you master the art of shooting with the OM-1.
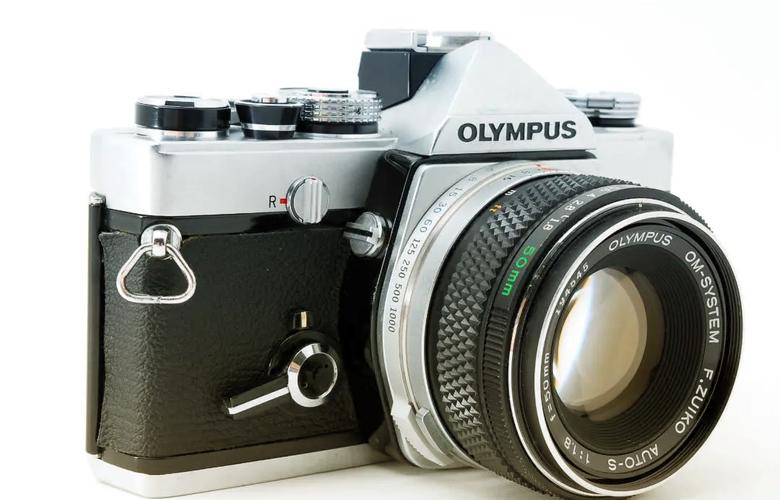
Understanding Your Olympus OM-1
Before you start shooting, it’s essential to familiarize yourself with the camera’s features and controls. The OM-1 is a rangefinder camera, which means it uses a split-image viewfinder to focus. Here’s a quick rundown of the camera’s key components:

| Component | Description |
|---|---|
| Shutter Speed | Controls the amount of time the camera’s shutter is open, affecting the exposure. |
| Aperture | Regulates the amount of light entering the camera, controlled by the lens’s diaphragm. |
| ISO | Adjusts the camera’s sensitivity to light, allowing for better exposure in low-light conditions. |
| Focus | Enables you to adjust the camera’s focus on a specific subject. |
Take some time to explore the camera’s controls and settings. Familiarize yourself with the shutter speed dial, aperture ring, and ISO selector. This will help you make quick adjustments while shooting.
Setting Up Your Olympus OM-1
Before you start shooting, ensure that your camera is properly set up. Here are some essential steps to follow:
- Charge the battery: Make sure your camera’s battery is fully charged or carry a spare battery with you.
- Load a film: If you’re using film, load it into the camera’s film chamber. Ensure that the film is properly loaded and the camera is in the “film advance” position.
- Set the shutter speed: Adjust the shutter speed dial to the desired setting. For general use, start with a shutter speed of 1/60th of a second.
- Adjust the aperture: Use the aperture ring on the lens to control the amount of light entering the camera. Start with an aperture of f/8 for a balanced exposure.
- Set the ISO: Adjust the ISO selector to the appropriate setting based on the lighting conditions. For indoor or low-light shooting, consider using ISO 400 or 800.
Once you’ve set up your camera, take a few test shots to ensure everything is working correctly. This will help you get comfortable with the camera’s controls and settings.
Mastering the Viewfinder
The OM-1’s split-image viewfinder is a unique feature that allows you to focus accurately. Here’s how to use it:
- Frame your subject: Position your subject in the center of the viewfinder.
- Focus: Rotate the focus lever until the split-image in the viewfinder aligns, indicating that the subject is in focus.
- Check the rangefinder: Ensure that the two halves of the viewfinder are aligned. If they’re not, adjust the focus lever until they are.
Once you’ve achieved focus, you can compose your shot and take the picture. The rangefinder system is incredibly precise, allowing for sharp and accurate focus.
Shooting Techniques
Now that you’re familiar with the camera and its controls, it’s time to start shooting. Here are some techniques to help you capture stunning images with your OM-1:
- Experiment with shutter speeds: Try different shutter speeds to capture motion or freeze action. For example, use a fast shutter speed to freeze a bird in flight or a slow shutter speed to create a flowing water effect.
- Play with apertures: Adjust the aperture to control the depth of field. A wider aperture (smaller f-number) will create a shallow depth of field, isolating your subject from the background. A narrower aperture (larger f-number) will provide a greater depth of field, ensuring that both the subject and background


