
How to Screen Shot on iPad: A Comprehensive Guide
Screen capturing on an iPad is a handy feature that allows you to save important moments, share information, or create tutorials. Whether you’re a student, a professional, or just someone who wants to document their iPad experience, knowing how to take a screenshot is essential. In this detailed guide, I’ll walk you through various methods to capture screenshots on your iPad, ensuring you have the knowledge to capture the perfect moment every time.
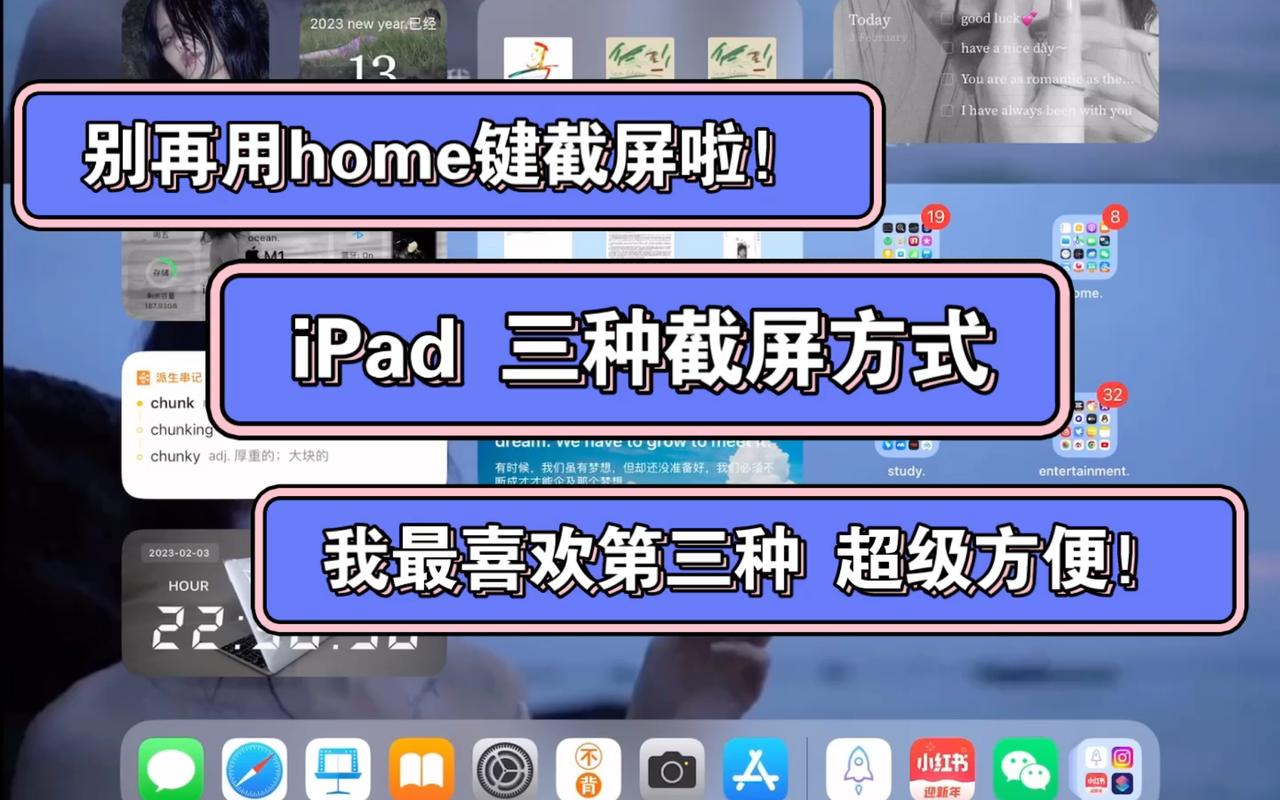
Using the Physical Buttons
The most common and straightforward method to take a screenshot on an iPad is by using the physical buttons. Here’s how you can do it:

- Press and hold the “Side” button (or “Top” button on the iPad Pro) on the right side of your iPad.
- While holding the “Side” button, quickly press the “Volume Up” button on the left side of your iPad.
- You’ll hear a shutter sound, indicating that the screenshot has been taken.
- Go to the “Photos” app to view your screenshot.
This method works on all iPad models, including the latest iPad Pro, iPad Air, and iPad mini. However, if you have an iPad with a Smart Connector, you can use the Smart Keyboard to take a screenshot by pressing the “Home” button on the keyboard.
Using the Control Center
Another convenient way to take a screenshot on your iPad is by using the Control Center. Here’s how to do it:
- Swipe down from the top-right corner of your screen to open the Control Center.
- Tap the “Screenshot” button, which looks like a camera icon.
- After taking the screenshot, you’ll see a thumbnail of the captured image at the bottom of the screen. Tap on it to edit or share the screenshot.
This method is particularly useful if you want to take a screenshot quickly without having to press the physical buttons. You can also customize the Control Center to include the screenshot button by going to “Settings” > “Control Center” > “Customize Controls” and adding the “Screenshot” option.
Using the Shortcuts App
The Shortcuts app on your iPad allows you to create custom shortcuts for various tasks, including taking screenshots. Here’s how to set up and use a screenshot shortcut:
- Open the “Shortcuts” app on your iPad.
- Tap the “+” button in the bottom-right corner to create a new shortcut.
- Search for “Take Screenshot” and select the action.
- Name your shortcut and tap “Add to Home Screen” to create an icon on your home screen.
- Tap the shortcut icon to take a screenshot.
This method is great if you want to take screenshots quickly without having to go through the Control Center or press the physical buttons. You can also customize the shortcut by adding additional actions, such as saving the screenshot to a specific location or sharing it directly.
Using Third-Party Apps
There are several third-party apps available on the App Store that offer additional features and customization options for taking screenshots on your iPad. Here are a few popular options:
| App | Description | Price |
|---|---|---|
| Screen Capture | Simple and easy-to-use screen capture app with basic editing features. | $0.99 |
| SnipSnap | Comprehensive screen capture app with advanced editing tools, annotations, and sharing options. | $2.99 |
| Screeny | Minimalist screen capture app with a focus on simplicity and speed. | $0.99 |
These apps offer various features, such as the ability to capture specific areas of the screen, add annotations, and share screenshots directly to social media platforms. However, keep in mind that using third-party apps may require additional permissions and storage space on your iPad.
Common Questions and Tips
Here are some common questions and tips related to taking screenshots on


