
How to Apply Peel and Stick Tiles on Concrete
Applying peel and stick tiles on concrete can be a cost-effective and easy way to transform your space. Whether you’re updating your kitchen, bathroom, or any other area, this guide will walk you through the process step by step.
Preparation
Before you start, it’s essential to prepare the concrete surface properly. Here’s what you need to do:
1. Clean the Concrete Surface:
– Sweep the concrete thoroughly to remove any dirt, dust, or debris.- Use a damp cloth to wipe down the surface and remove any grease or oil stains.
2. Check for Levelness:
 – Ensure the concrete surface is level. Uneven surfaces can cause tiles to crack or pop.- Use a level to check the surface and make any necessary repairs.
3. Repair Any Imperfections:
– Fill in any cracks or holes with concrete patching compound.- Allow the compound to dry completely before proceeding.
4. Sand the Concrete:
– Sand the concrete surface to create a smooth, even texture.- Use a fine-grit sandpaper for best results.
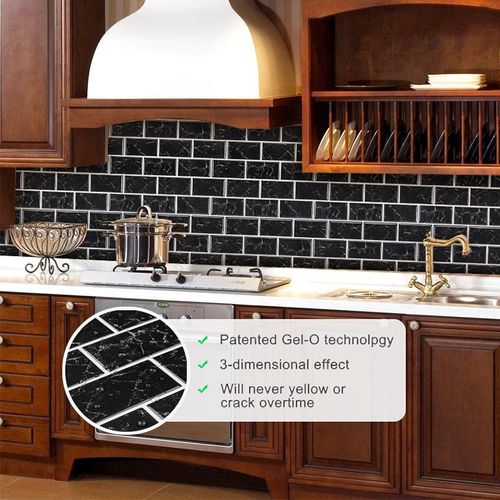
Choosing the Right Peel and Stick Tiles
Selecting the right tiles is crucial for a successful installation. Consider the following factors:
1. Tile Material:
– Choose tiles made from a material that is suitable for your space and intended use. Common options include vinyl, ceramic, and porcelain.
2. Tile Size:
 – Larger tiles can create a more seamless look, but smaller tiles may be more forgiving during installation.- Consider the size of your space and your personal preference when choosing tile size.
3. Tile Pattern:
– Select a tile pattern that complements your space and personal style. Patterns can add visual interest and make the space feel larger.
Installation Process
Now that you have prepared the surface and chosen the right tiles, it’s time to install them. Follow these steps:
1. Measure and Cut Tiles:
– Measure the area you want to cover and cut the tiles accordingly. Use a tile cutter or a utility knife for precise cuts.
2. Apply Adhesive:
– Apply the adhesive to the back of the tiles using a notched trowel. Be sure to cover the entire surface of the tile.
3. Position the Tiles:
– Start in a corner and work your way across the room. Press the tiles firmly into place, ensuring they adhere to the concrete surface.
4. Cut Around Obstacles:
– If you encounter obstacles like pipes or outlets, use a utility knife to cut the tiles around them.
5. Allow Tiles to Set:
– Give the tiles 24-48 hours to set and adhere to the concrete surface.
Care and Maintenance
Once your peel and stick tiles are installed, it’s important to maintain them properly to ensure they last for years to come.
1. Clean Regularly:
– Use a damp cloth to wipe down the tiles regularly to remove dirt and grime.
2. Use Non-Abrasive Cleaners:
– Avoid using harsh chemicals or abrasive cleaners that can damage the tiles.
3. Seal the Tiles (If Necessary):
– Some tile types may require sealing to protect them from stains and moisture. Follow the manufacturer’s instructions for proper application.
Conclusion
Applying peel and stick tiles on concrete can be a rewarding DIY project. With proper preparation, the right materials, and attention to detail, you can transform your space with ease. Happy tiling!


